
Your first webhook
Point a real provider at your FixedHook alias and see a production-shaped event land in the dashboard.
The quickstart shows the loop with curl. This guide replaces the curl with a real provider that has a signature, retries, and a real payload. The provider doesn't matter for the demo — we use Stripe's CLI as a stand-in because it's the most common case.
The Stripe CLI has a trigger command that fires realistic example events to any URL. It is the fastest way to see what a production webhook looks like.
Step 1 — Make sure the tunnel is up
In one terminal:
fixedhook up --port 4242 --alias my-app-devThe CLI prints a connection message and stays attached.
Step 2 — Send a real-shaped event
In another terminal, use the Stripe CLI to send a realistic event to your alias:
stripe trigger checkout.session.completed \
  --add checkout_session:metadata.user_id=user_42 \
  --url https://my-app-dev.fixedhook.com/stripe/webhook
The Stripe CLI posts a signed event with the full Stripe payload structure. Your alias receives it, the relay forwards it through the tunnel, your local server answers, and the entire exchange is captured as an event in the dashboard.
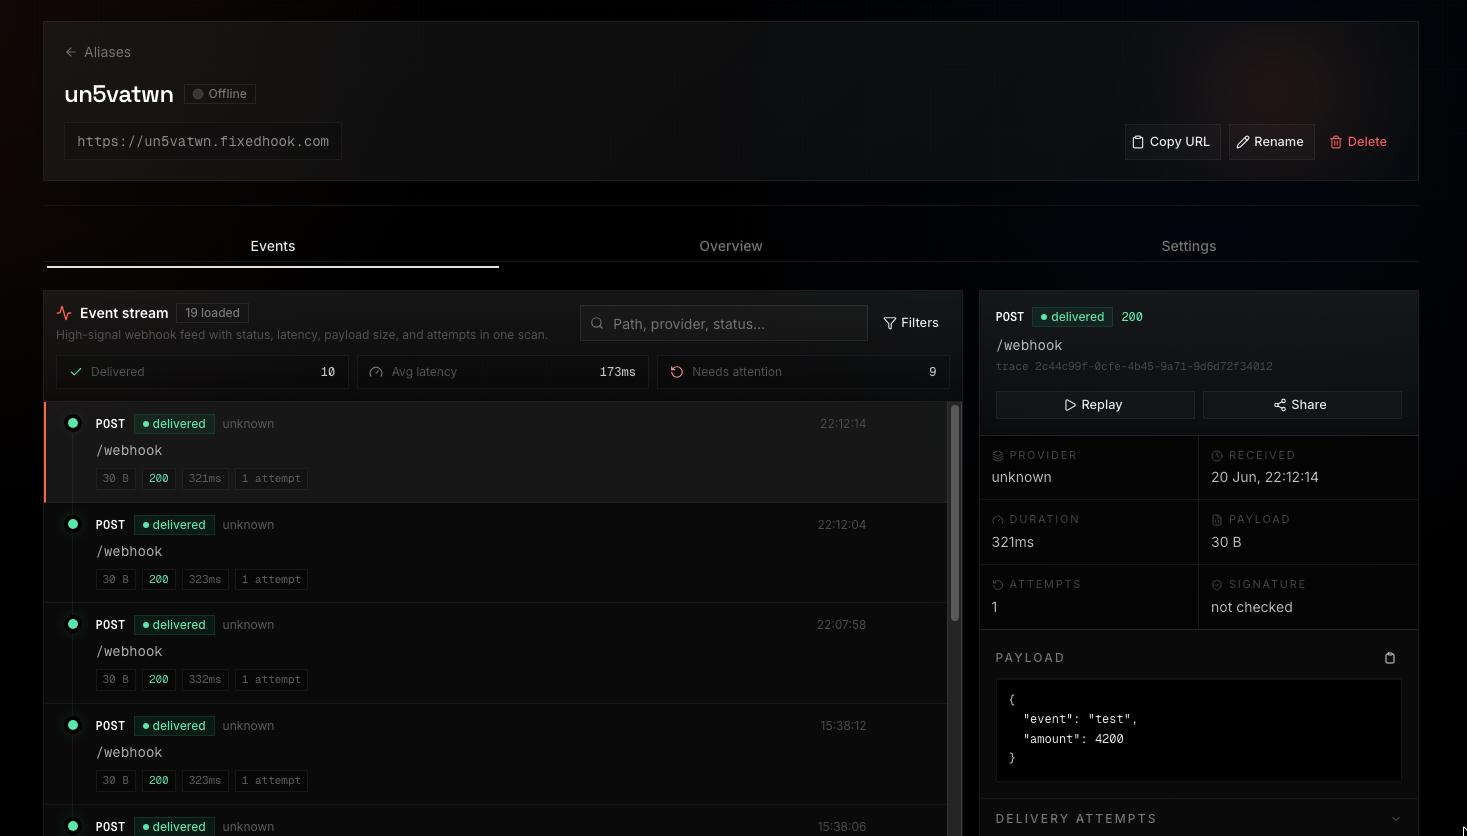
Step 3 — Inspect the event
Click the row to open the inspector. The interesting things to look at:
- Request headers — Stripe sends
Stripe-Signature,User-Agent,Content-Type. These are captured verbatim, so you can debug signature verification on your side. - Request body — the full payload, formatted JSON. Even large payloads are stored.
- Response headers and body — whatever your local server returned, captured on the way back.
- Attempts — every event records every delivery attempt. A retry shows up as a second attempt with its own response.
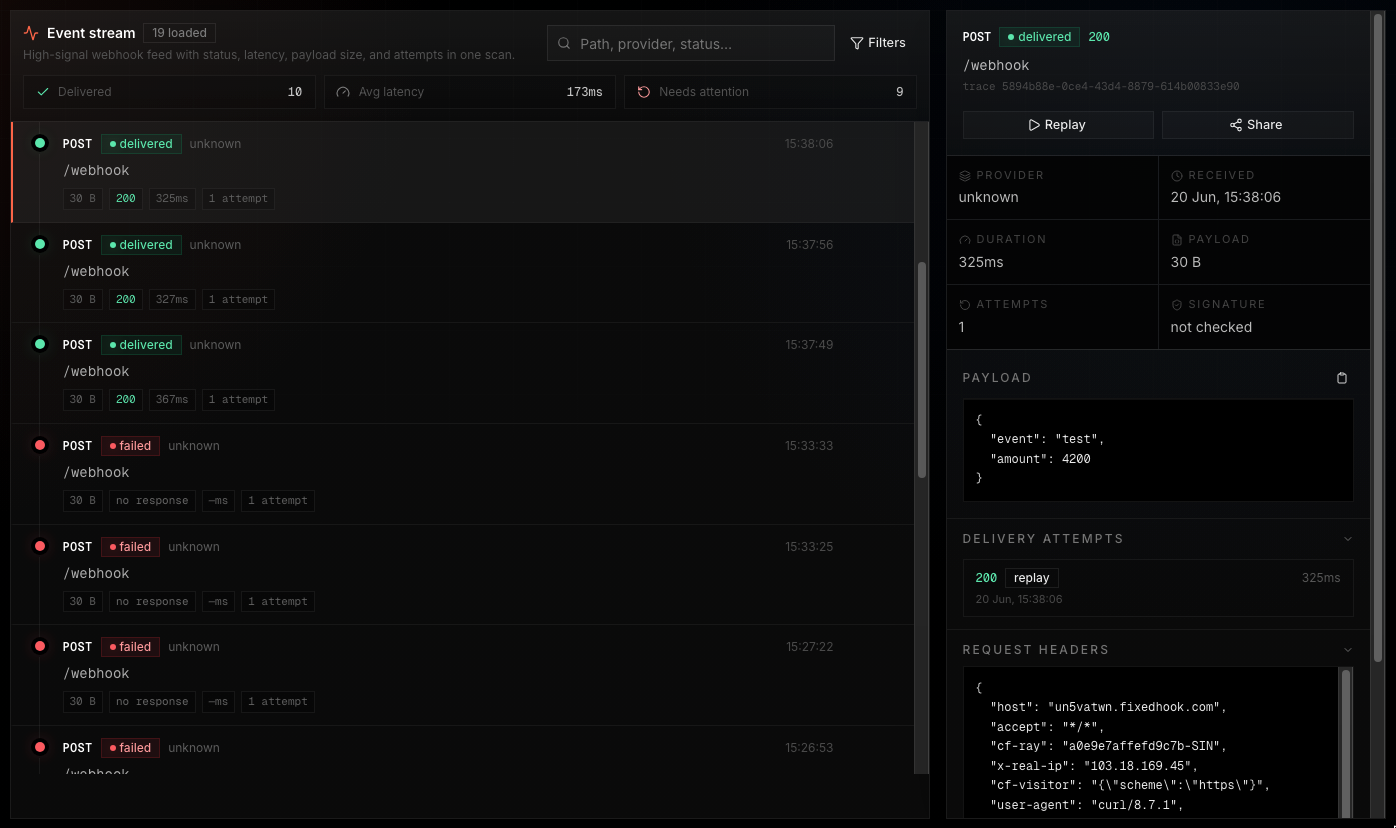
Step 4 — Try a replay
Hit Replay. The original payload and headers are re-sent to your local server through the active tunnel. A new attempt is recorded in the same event so you can compare the two responses side by side.
Step 5 — Share the event
If you need a teammate to look at the event, click Share and copy the link. The link is a public, no-login URL that opens the inspector in read-only mode. The link is scoped to that single event — the recipient can't see your other traffic.
What you can do from here
- Lock in the alias URL — register
https://my-app-dev.fixedhook.com/stripe/webhookin your real Stripe dashboard. Every test event you send will show up the same way. - Move to production — open the alias Delivery settings, choose Deployed URL, and enter your public HTTPS webhook endpoint without changing what Stripe knows.
- Stop using the Stripe CLI — once your real provider is pointed at the alias, traffic flows on its own.